
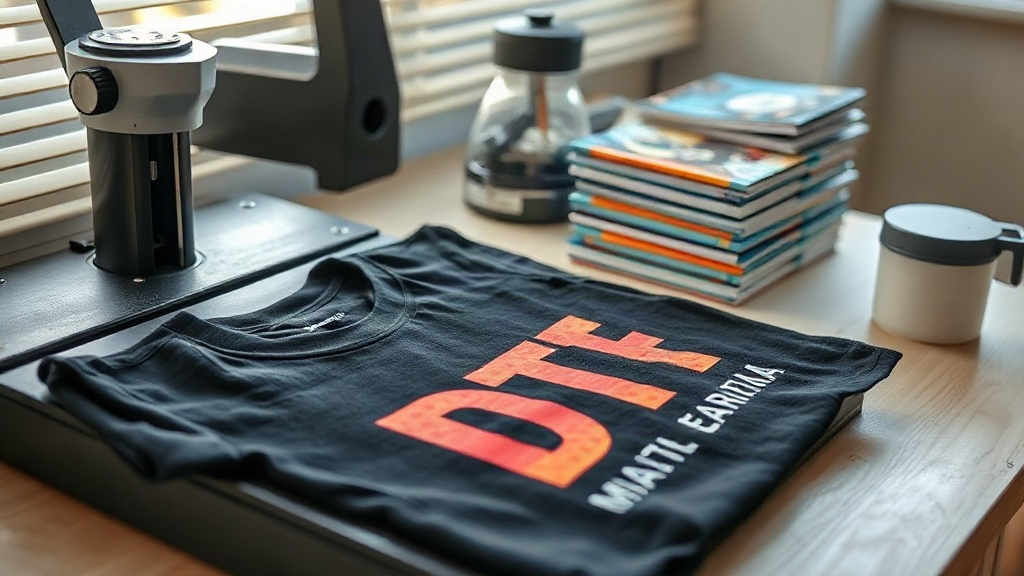
Imagine pressing a vibrant, full-color design onto a dark cotton t-shirt without any weeding, masking, or special pretreatment. That's the promise of DTF transfers, a technology that has quickly become a favorite for small business owners, crafters, and anyone who wants professional-looking custom apparel without the steep learning curve. In this guide, I'll walk you through everything you need to know about DTF transfers, from how they work to the tips that separate a lasting print from a peeling mess.
What Are DTF Transfers?
DTF stands for Direct to Film. Unlike DTG (Direct to Garment) printing, which prints directly onto the fabric, DTF printing involves printing your design onto a special PET film, coating it with a hot-melt adhesive powder, and then transferring it to the garment using a heat press. The result is a soft, stretchable, and incredibly durable print that adheres to a wide range of fabrics, including cotton, polyester, blends, and even nylon.
The process was first developed as an industrial solution, but in recent years it has become accessible to home-based businesses and hobbyists thanks to affordable desktop DTF printers and supplies. If you've ever struggled with vinyl cutting or sublimation limitations, DTF transfers offer a compelling alternative.
How DTF Transfers Work: A Step-by-Step Breakdown
Understanding the workflow helps you troubleshoot issues and achieve consistent results. Here's what happens from digital file to finished garment.
1. Design Preparation
Start with a high-resolution image. DTF printers typically use CMYK plus white ink, so your design should be in a compatible format (PNG with transparent background works best). Remember that the white ink layer acts as a base, so colors will appear opaque even on dark fabrics. There's no need to mirror the image for DTF, unlike some other transfer methods.
2. Printing
The printer lays down the color inks first, followed by a layer of white ink. This white layer is crucial: it ensures the colors pop and prevents the garment color from showing through. Some advanced printers also use a special adhesive ink, but most rely on the powder application step.
3. Powder Application
While the ink is still wet, a fine thermoplastic powder is sprinkled over the print. The powder sticks to the wet ink and is then shaken off. The film is then heated to melt the powder, creating a smooth, dry adhesive layer. This step is what gives DTF transfers their exceptional wash durability.
4. Curing
The film is cured in an oven or with a heat press to fully melt the powder. Proper curing is essential; undercured transfers will crack or peel, while overcured ones may lose their elasticity. Most suppliers provide specific temperature and time recommendations.
5. Transferring to the Garment
Finally, the film is placed on the garment and pressed with a heat press. The adhesive melts and bonds with the fabric fibers. After pressing, you peel the film away (hot or cold peel, depending on the film type), leaving the design behind.
Why Choose DTF Transfers Over Other Methods?
If you're comparing printing options, here's where DTF shines.
- No Weeding or Masking: Unlike vinyl, there's no tedious cutting and weeding. You print, powder, and press.
- Full-Color and Photographic Designs: DTF handles gradients, fine details, and millions of colors with ease.
- Works on Almost Any Fabric: Cotton, polyester, blends, leather, and even nylon. No need for pretreatment or special coatings.
- Durability: When applied correctly, DTF prints withstand dozens of washes without fading, cracking, or peeling.
- Cost-Effective for Short Runs: No setup fees or minimums, making it ideal for one-off custom orders.
That said, DTF isn't perfect for every scenario. For very large orders, screen printing may be more economical. And while the feel is soft, it's not completely unnoticeable on lightweight fabrics. But for the vast majority of custom apparel needs, DTF transfers deliver an unbeatable combination of quality and convenience.
DTF vs. DTG vs. Sublimation: A Quick Comparison
Let's cut through the confusion. DTG prints directly onto the garment, which works well for cotton but requires pretreatment and can be slow. Sublimation requires polyester or a poly-coated surface and often produces a faded look on dark colors. DTF, on the other hand, is a transfer method that works on virtually any fabric and produces vibrant, opaque prints. It's also more forgiving for beginners because you can prepare transfers in advance and store them.
Expert Tips for Flawless DTF Transfers
I've made my share of mistakes with DTF, from scorched films to prints that washed away. Here are the lessons I've learned.
Choose the Right Film and Powder
Not all DTF films are created equal. Cheaper films may curl or leave residue. Look for films designed for your printer's ink type (pigment or dye) and a powder that matches your fabric (e.g., fine powder for detailed designs, coarse for stretchy fabrics).
Master Your Heat Press Settings
Temperature, pressure, and time are critical. A common starting point is 320°F (160°C) for 15 seconds with medium pressure. But always test with your specific film and fabric. Too much pressure can cause the adhesive to spread and create a halo; too little leads to poor adhesion.
Pre-Press Your Garment
Moisture is the enemy of DTF. Always pre-press the garment for a few seconds to remove wrinkles and moisture. This simple step dramatically improves adhesion and prevents bubbling.
Peel at the Right Temperature
Some films are hot peel, some are cold peel. Using the wrong method can ruin the transfer. Check your film's instructions. If unsure, let it cool completely before peeling for a safer result.
Wash and Care
Wait at least 24 hours before washing. Turn the garment inside out and use cold water. Avoid fabric softeners and bleach. Tumble dry low or hang dry. With proper care, your DTF prints will last for years.
Common DTF Problems and How to Fix Them
Even with experience, issues can arise. Here's a quick troubleshooting guide.
- Print peels after washing: Usually due to undercuring or insufficient pressure. Increase curing time or pressure.
- Colors look dull: The white ink layer may be too thin. Check your printer settings and ensure the white ink is properly mixed.
- Film won't release: The transfer may be too hot or too cold. Adjust your peel temperature.
- Adhesive residue on garment: Too much powder or overcuring. Reduce powder amount and check temperature.
Frequently Asked Questions About DTF Transfers
How long do DTF transfers last on a shirt?
With proper application and care, DTF transfers can last 50 washes or more. The key is correct curing and avoiding high heat when washing and drying.
Can I use DTF transfers on 100% polyester?
Yes, DTF works well on polyester. However, because polyester is heat-sensitive, use a lower temperature (around 280°F) and press for a shorter time to avoid scorching or dye migration.
Do I need a special printer for DTF?
You can convert some inkjet printers to DTF, but dedicated DTF printers are recommended for consistent results. They handle white ink and the powder process more efficiently.
What's the difference between DTF and DTG?
DTG prints directly onto the garment, while DTF uses a transfer film. DTF works on more fabrics, doesn't require pretreatment, and often produces more vibrant colors on dark garments.
Can I layer DTF transfers?
Yes, you can layer DTF transfers, but it's tricky. Press the first transfer, then the second on top. Use a Teflon sheet to protect the design. For best results, design your artwork to avoid layering.
DTF transfers have opened up a world of possibilities for custom apparel. Whether you're a small business owner looking to offer unique products or a hobbyist wanting to personalize your own wardrobe, this technology delivers professional results without the fuss. If you're ready to dive in, start with a quality printer, film, and powder, and don't skip the testing phase. Your customers (and your washing machine) will thank you.