
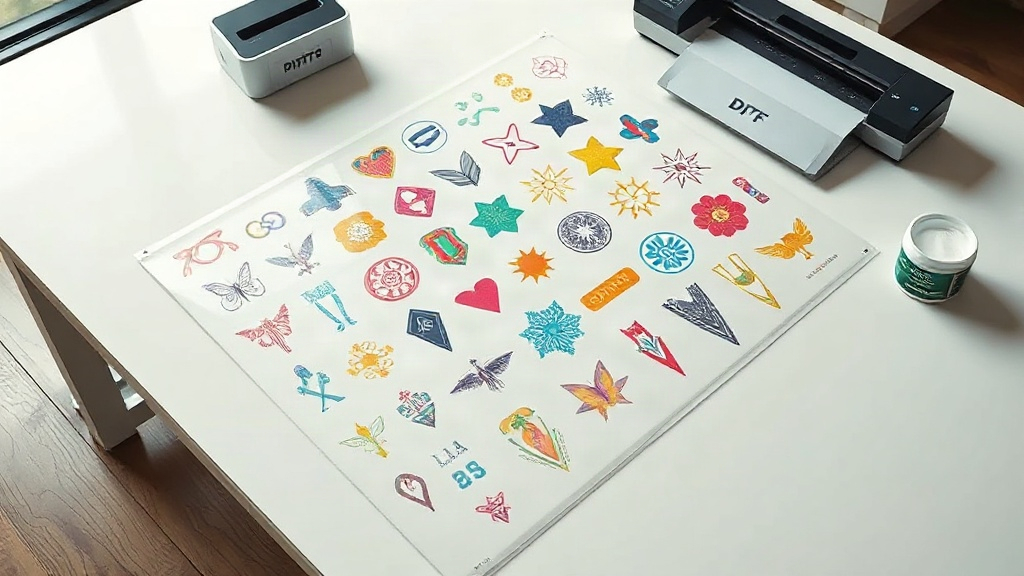
If you're in the custom apparel business, you know that every penny counts. Material costs, labor, and time all add up, eating into your profit margins. That's where DTF (Direct to Film) printing comes in, offering vibrant, durable transfers without the hassle of weeding or specialty papers. But did you know you can take your savings even further with a DTF gangsheet? This guide will walk you through what a gangsheet is, why it's a game-changer for your shop, and how to create one that maximizes efficiency and minimizes waste. Whether you're a seasoned pro or just starting out, mastering gangsheets is a skill that pays for itself.
What Exactly Is a DTF Gangsheet?
Imagine you have a bunch of different designs you need to print: logos for a local sports team, a batch of hen party shirts, and a few custom orders for walk-in customers. Instead of printing each design separately on its own sheet of film, a gangsheet lets you combine multiple designs onto a single large sheet. Think of it like a digital collage of your transfers. You arrange all the designs, nest them efficiently, and print them all at once. Once printed, you cut them apart and apply them as needed.
The term "gangsheet" comes from the idea of "ganging up" multiple print jobs onto one sheet. It's a common practice in screen printing and digital printing, but it's especially powerful for DTF because the film and powder costs are significant. By maximizing the use of every square inch of film, you drastically reduce your cost per transfer. Plus, you save time by running one large print instead of many small ones.
Why You Should Use DTF Gangsheets
If you're not already using gangsheets, you're likely leaving money on the table. Here are the main benefits:
- Cost savings: Film, ink, and adhesive powder are expensive. A gangsheet minimizes waste by using nearly every inch of the sheet. You'll also save on electricity and printer wear by running fewer jobs.
- Time efficiency: Loading and unloading the printer, applying powder, and curing take time. Batching multiple designs into one sheet cuts down on repetitive tasks, freeing you to focus on other aspects of your business.
- Consistency: When you print all your transfers in one go, you ensure consistent color and quality across the entire batch. No more slight variations between separate prints.
- Scalability: As your order volume grows, gangsheets allow you to produce more in less time. You can easily add new designs to the sheet as needed.
But the benefits aren't just monetary. Gangsheets also reduce your environmental footprint by using less film and energy per transfer. Customers appreciate businesses that operate efficiently and sustainably.
How to Create a DTF Gangsheet: Step-by-Step
Creating a gangsheet might sound complex, but with the right approach, it's straightforward. Here's a step-by-step guide to help you get started.
1. Gather Your Designs
Collect all the designs you need to print. Make sure they are in a high-resolution format (PNG with transparent background works best). Check that each design is sized correctly for its intended garment. For example, a left-chest logo should be around 3-4 inches wide, while a full-back print might be 12 inches or more.
2. Choose the Right Film Size
DTF film comes in various widths, typically 13 inches, 17 inches, 24 inches, and larger for industrial printers. The size of your gangsheet will depend on your printer's maximum width and the total area of your designs. A common choice for small shops is a 13x19 inch sheet, but you can go bigger if your printer supports it. Remember, the goal is to fill the sheet as much as possible without overlapping designs.
3. Arrange Designs Efficiently
This is where the magic happens. Use design software like Adobe Photoshop, Illustrator, or dedicated RIP software to arrange your designs on a canvas that matches your film size. Nest the designs tightly, rotating them if necessary to fill gaps. Leave a small margin (about 0.25 inches) between designs for easy cutting. Also, ensure that no design is too close to the edge, as the film may curl during printing.
Pro tip: Group similar colors together? Not necessary for DTF, but grouping by size can help with cutting. Also, consider the order of application: if you have multiple transfers for the same garment, place them near each other on the sheet for convenience.
4. Print and Powder
Once your gangsheet is arranged, print it using your DTF printer. Follow your printer's settings for the film type and resolution. After printing, while the ink is still wet, apply hot melt adhesive powder evenly over the entire sheet. Shake off excess powder and cure the sheet according to your powder's instructions, usually in a curing oven or with a heat press.
5. Cut and Store
After curing, your gangsheet is ready. Use scissors or a guillotine cutter to separate the individual transfers. Store them in a cool, dry place away from direct sunlight. Properly stored DTF transfers can last for months.
Common Mistakes to Avoid with DTF Gangsheets
Even experienced printers make mistakes. Here are some pitfalls to watch out for:
- Overcrowding: Trying to squeeze too many designs onto one sheet can lead to smudging or poor adhesion. Leave enough space for the powder to adhere properly.
- Inconsistent powder application: Too much powder causes a rough feel; too little leads to poor wash durability. Aim for a light, even coating.
- Ignoring film limitations: Not all films are created equal. Some may not handle heavy ink loads or may curl at the edges. Test your film and adjust your layout accordingly.
- Skipping a test print: Always do a small test print to check colors and adhesion before committing to a full gangsheet.
Pro Tips for Maximizing Your Gangsheets
Ready to take your gangsheet game to the next level? Try these tips:
- Use nesting software: Dedicated nesting software can automatically arrange designs for optimal use of space. This is especially useful for complex shapes.
- Standardize sizes: If you often print the same sizes (e.g., 10-inch wide logos), create templates to speed up layout.
- Mix and match: Combine small and large designs to fill gaps. Small logos can fit in the spaces around larger prints.
- Keep a library: Save your gangsheet layouts for future use. If you get repeat orders, you can simply reprint the same sheet.
- Invest in a larger printer: If you're consistently maxing out your film size, consider upgrading to a wider printer. The increased capacity can significantly boost your throughput.
Frequently Asked Questions About DTF Gangsheets
How many designs can I fit on one gangsheet?
It depends on the size of your designs and the film. A 13x19 inch sheet can hold dozens of small logos or a few large prints. Use design software to experiment with layouts and see how many you can fit without overlapping.
Can I reuse a gangsheet after cutting?
No, once you cut the transfers apart, the sheet is no longer usable as a whole. However, you can save the digital layout to reprint later.
What's the best film for gangsheets?
Look for high-quality DTF film that is compatible with your printer and powder. Brands like DTF Quickly offer reliable films that handle dense ink coverage well. Always test a new film before committing to a large gangsheet.
How do I store gangsheets before use?
Keep them in a cool, dry place, ideally in a sealed bag or container to protect from dust and moisture. Avoid folding them; store flat or roll them loosely.
Do I need special software for gangsheets?
Not necessarily. You can use any graphic design software to arrange your designs. However, dedicated RIP or nesting software can automate the process and improve efficiency.
Mastering DTF gangsheet printing is a journey, but the rewards are well worth it. By optimizing your layouts, you'll cut costs, save time, and deliver consistent quality to your customers. Start small, experiment, and soon you'll wonder how you ever managed without gangsheets. For high-quality DTF supplies and films, check out dtfquickly.com. Happy printing!