
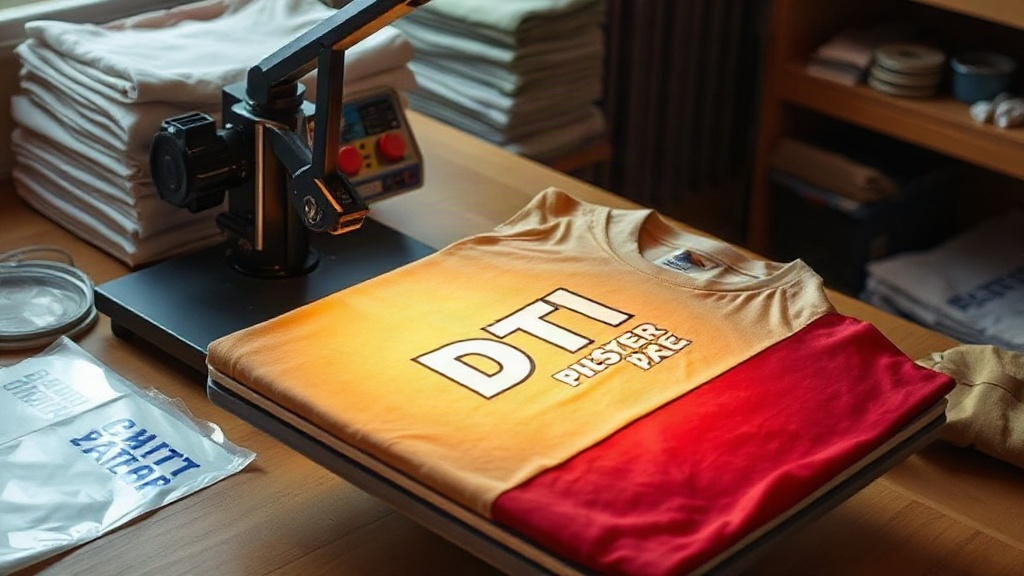
If you've ever peeled a DTF transfers film off a shirt only to watch half the design stay behind, you know the frustration. I've been running a small print shop for eight years, and I've pressed thousands of transfers onto everything from budget blanks to premium streetwear. Two brands that consistently come up in conversations with other printers are Shaka Wear and Smart Blanks. Both offer great value, but they behave differently under the heat press. This guide shares what I've learned so you can avoid the mistakes I made early on.
Why DTF Transfers Work Well on These Blanks
DTF (direct-to-film) transfers have exploded in popularity because they bond to almost any fabric, including cotton, polyester, and blends. That versatility makes them a natural fit for Shaka Wear and Smart Blanks, which are known for their soft hand and consistent quality. Unlike vinyl or screen printing, DTF doesn't require a perfectly flat surface or specific fabric chemistry. The adhesive powder in the transfer melts and fuses with the fibers, creating a durable bond that survives dozens of washes if applied correctly.
But here's the catch: not all blanks are created equal. The weave density, fabric weight, and dye content can affect how well the transfer adheres. I learned this the hard way when a batch of Shaka Wear tees gave me trouble until I adjusted my press settings. The same goes for Smart Blanks. Once you understand their quirks, you can achieve professional results every time.
Getting to Know Shaka Wear Blanks
Shaka Wear is a favorite among streetwear brands and small shops because of its heavyweight cotton and boxy fit. Their tees, especially the 7.5 oz styles, have a tight knit that can be tricky for DTF if you don't prep properly. The fabric is durable, but that density means heat and pressure need to penetrate evenly. I've found that a slightly longer press time works wonders.
Preparing Shaka Wear for DTF Transfers
Before you even think about pressing, pre-press the garment for 5-7 seconds at 325°F (160°C) to remove moisture and wrinkles. This step is non-negotiable with Shaka Wear because their cotton tends to hold moisture from shipping and storage. Skipping it can cause the transfer to bubble or peel. I also recommend using a lint roller to remove any fibers that could interfere with adhesion.
For the actual press, set your temperature to 325°F (160°C) and pressure to medium-heavy. Place the transfer on the shirt, cover with a Teflon sheet or parchment paper, and press for 15-20 seconds. Peel while hot for a matte finish or cold for a glossier look. I prefer hot peel on Shaka Wear because it gives a smoother edge.
Common Issues with Shaka Wear
The most frequent problem I hear from other printers is the transfer not sticking around the seams or on the collar. That's because the fabric is thicker there, and heat doesn't penetrate as deeply. Solution: use a smaller press plate or apply extra pressure for a few seconds on those areas. Also, if you're using a home iron, forget it. You need a proper heat press to get consistent results.
Working with Smart Blanks
Smart Blanks are a different beast. They're known for their soft, ring-spun cotton and slightly lighter weight, which makes them incredibly comfortable but also a bit more delicate. The fabric has more stretch and a looser weave, so DTF transfers can sometimes sink into the fibers, leading to a duller appearance. However, with the right technique, you can achieve a vibrant, long-lasting print.
Preparing Smart Blanks for DTF Transfers
Pre-press is still important, but you can get away with 3-5 seconds at 300°F (150°C). Smart Blanks don't hold as much moisture, but they do have a tendency to shrink slightly under high heat. I recommend testing a scrap piece first if you're working with a new batch. Use medium pressure and press at 300°F (150°C) for 12-15 seconds. Cold peel is usually better for Smart Blanks because the fabric is more sensitive to heat, and a cold peel prevents the transfer from stretching out of shape.
One trick I've picked up: place a piece of parchment paper over the transfer and use a rolling pin or brayer to apply even pressure before pressing. This helps the adhesive powder make full contact with the fabric, especially on textured surfaces.
Common Issues with Smart Blanks
The biggest complaint is that the transfer feels stiff or cracks after a few washes. That's usually a sign of insufficient pressure or too high a temperature. If the powder doesn't fully melt, it won't bond properly. I've also seen cases where the transfer peels off in the wash because the fabric wasn't pre-pressed and had residual softener. Always wash new blanks before printing? No, that's a myth. You should never wash before pressing because it can introduce more wrinkles and moisture. Instead, pre-press thoroughly.
Comparing DTF Transfers on Both Blanks
To give you a quick reference, here's how Shaka Wear and Smart Blanks stack up for DTF:
- Shaka Wear: Heavier fabric, needs higher pressure and slightly longer press. Hot peel works best. Great for bold, large designs.
- Smart Blanks: Lighter, softer fabric. Lower temperature and pressure. Cold peel recommended. Ideal for detailed, smaller prints.
Both can yield professional results, but you must adjust your settings accordingly. I keep a cheat sheet taped to my press for each brand.
Step-by-Step DTF Application on Shaka Wear and Smart Blanks
- Preheat your heat press to the recommended temperature (325°F for Shaka Wear, 300°F for Smart Blanks).
- Pre-press the garment for 5-7 seconds to remove moisture and wrinkles.
- Position the DTF transfer with the design facing up. Use heat tape if needed to keep it in place.
- Cover with a Teflon sheet or parchment paper.
- Apply pressure (medium-heavy for Shaka Wear, medium for Smart Blanks) and press for the recommended time.
- Peel the film according to the brand's recommendation (hot for Shaka Wear, cold for Smart Blanks).
- Post-press for 5 seconds with the Teflon sheet to ensure full adhesion.
I can't stress enough how much difference a good post-press makes. It smooths out any bubbles and sets the adhesive for longer wear.
Troubleshooting Tips from the Shop Floor
Even with perfect settings, things can go wrong. Here are fixes for common issues:
- Transfer peeling after wash: Increase pressure or press time. Also, ensure the fabric is completely dry before pressing.
- Transfer looks dull: You might be pressing too hard, which flattens the ink. Reduce pressure slightly.
- Edges lifting: Use a smaller press plate to focus heat on the edges, or trim the transfer closer to the design.
- Color fading: Wash inside out in cold water and avoid bleach. DTF transfers are durable but not invincible.
One more thing: always test a new batch of blanks with a small transfer before running a big order. I learned that after ruining a dozen Shaka Wear tees because the fabric had a slight finish that needed extra pre-pressing.
Frequently Asked Questions
Can I use DTF transfers on Shaka Wear 100% cotton shirts?
Absolutely. DTF transfers adhere well to cotton, including Shaka Wear's heavyweight tees. Just follow the pre-press and pressure guidelines for best results.
What temperature should I use for Smart Blanks with DTF?
Set your press to 300°F (150°C) with medium pressure. Smart Blanks are lighter, so lower heat prevents scorching and shrinkage.
Do I need to pre-wash Shaka Wear or Smart Blanks before applying DTF transfers?
No. Pre-washing is not necessary and can actually introduce wrinkles. Instead, pre-press the garment to remove moisture and prepare the surface.
How do I prevent DTF transfers from cracking on Smart Blanks?
Use cold peel, ensure even pressure, and avoid over-stretching the fabric during pressing. A post-press also helps seal the transfer.
Which brand is better for DTF transfers: Shaka Wear or Smart Blanks?
Both are excellent. Shaka Wear suits bold designs on heavier fabric, while Smart Blanks works well for detailed prints on softer tees. Choose based on your design and desired feel.
With these tips, you'll be pressing DTF transfers like a pro on Shaka Wear and Smart Blanks in no time. Remember, practice makes perfect, so don't be afraid to experiment on scrap pieces until you dial in your settings.