
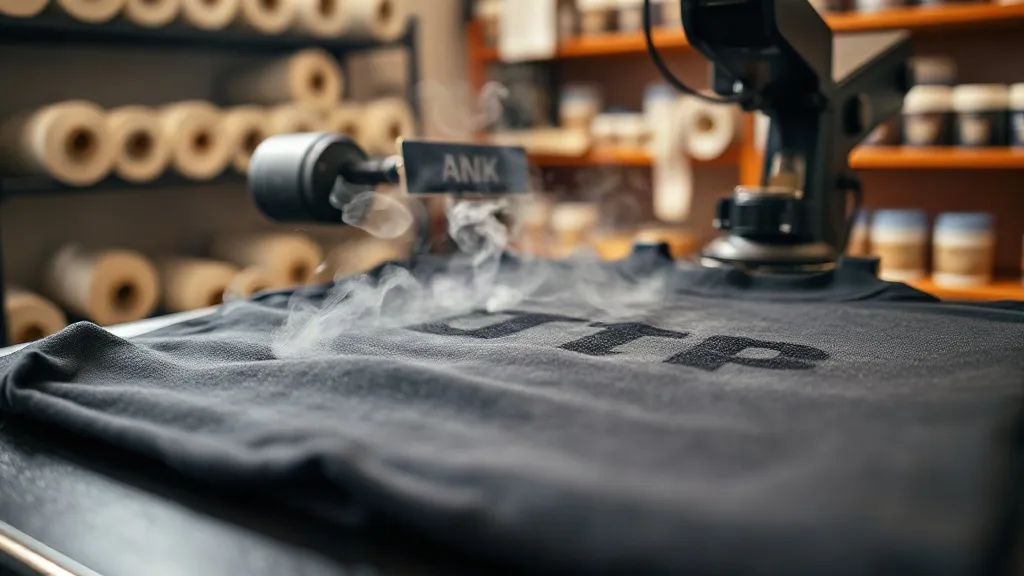
You've dialed in your printer, your color profiles are solid, and your dtf transfers come out of the shaker looking crisp. Then you press them onto a shirt and something goes wrong: the edges lift, the white ink looks patchy, or the whole design feels like it's sitting on top of the fabric instead of melting into it. Pressing is where good prints go to die, and it's also where they can be saved. This guide walks through the most common pressing problems, why they happen, and exactly how to fix them so your finished garments look professional and hold up wash after wash.
Why Pressing Is the Make-or-Break Step for DTF
DTF printing gets a lot of attention for its vibrant colors and ability to handle intricate details, but the transfer process itself is only half the story. The adhesive powder that fuses to the ink film needs heat and pressure to activate and bond with the fabric. If either is off, you'll see it immediately: the print might look fine at first, then start peeling after the first wash, or the texture might feel rough and plasticky. Understanding what's happening at the molecular level helps you troubleshoot faster. The powder melts, flows into the fabric fibers, and then cools to form a mechanical bond. Too little heat and it never fully melts; too much and it becomes brittle. Pressure ensures even contact, and time gives the bond a chance to form. Get all three right, and the print becomes part of the garment.
Problem 1: Print Peels After Washing
This is the most common complaint, and it almost always traces back to insufficient heat, pressure, or time during pressing. If the powder didn't fully melt, the bond is weak and washing will lift the edges. Start by checking your press temperature with an infrared thermometer; the dial on many presses is inaccurate. For most DTF films, you want 320°F to 340°F (160°C to 170°C) at the platen. Next, verify pressure. You should feel firm resistance when you close the press, but not so much that the shirt leaves a hard shine. Medium to heavy pressure is typical. Finally, extend your press time. Many shops use 10 to 15 seconds, but for thicker fabrics or multiple layers, 20 seconds may be necessary. Always peel the film cold or warm, never hot, because hot peeling can stretch the ink and weaken the bond.
Quick Fix: The Second Press
If you suspect undercuring, try a second press after the film is removed. Cover the print with parchment paper or a Teflon sheet and press for another 5 to 10 seconds. This extra heat can rescue a marginally bonded print. But don't rely on this as a regular practice; it's a diagnostic step. If it fixes the problem, adjust your initial pressing parameters.
Problem 2: White Ink Looks Patchy or Dull
DTF relies on a white ink layer to make colors pop, especially on dark garments. If that white layer looks uneven or lacks opacity, the issue could be in the transfer itself or in how you pressed it. First, check the film before pressing. Hold it up to light: the white should be dense and uniform. If it's patchy on the film, the problem is in printing or powdering, not pressing. If the film looks good but the pressed result is dull, you might be pressing too hard or too long, causing the white ink to spread and thin out. Reduce pressure slightly and shorten the press time. Also, ensure the garment is completely flat; wrinkles or seams under the print can prevent even transfer. Use a pressing pillow for seams and zippers.
Watch Out for Moisture
Moisture is a silent killer of DTF prints. If the fabric isn't completely dry, steam forms under the film and creates tiny bubbles that scatter light, making the white look cloudy. Pre-press the garment for 5 to 10 seconds to remove moisture before placing the transfer. This step is especially important for cotton and blends that absorb humidity from the air.
Problem 3: Edges Lift or Curl
Curling edges are frustrating because the print looks perfect until you notice the corners have lifted. This often happens when the transfer is larger than the press area or when pressure is uneven. Make sure your press platens are level and the pressure is consistent across the entire surface. For large designs, use a press with a larger platen or press in sections, but be careful not to overpress the already bonded areas. Another cause is insufficient cooling. Let the garment cool completely before stretching or folding it; the adhesive needs to set. If you're in a hurry, a cold press or a fan can speed cooling.
Problem 4: Print Feels Stiff or Rubbery
DTF prints should have a soft hand, but sometimes they feel thick and rubbery. This usually means too much powder was applied, or the press temperature was too high, causing the powder to over-melt and spread. Start by reducing powder usage: you want a light, even coat that just covers the wet ink. Shake off excess gently. Then verify your press temperature; if it's above 340°F, lower it. Also, check your pressure: excessive pressure can flatten the ink and make it feel plasticky. Aim for medium pressure. Finally, consider the fabric: tightly woven fabrics like canvas will always feel stiffer than a soft tri-blend. If the hand feel is critical, choose a lower powder weight or a finer powder mesh.
Problem 5: Color Looks Faded After Pressing
You printed a vibrant design, but after pressing, the colors look muted. This can happen if the press is too hot and scorches the ink, or if the garment itself is off-gassing. Pre-press the garment to remove any finishes or moisture, and use a Teflon sheet or parchment paper as a barrier to protect the ink from direct contact with the heat platen. Also, ensure you're using the correct press time; overly long pressing can cause dye migration from the fabric into the ink, especially on polyester. If you're working with polyester, use a lower temperature (around 300°F) and a longer time, and consider a dye-blocking underlay.
Building a Reliable Pressing Routine
Consistency is everything in a production environment. Create a checklist for every press: verify temperature with an IR gun, check pressure by pressing a scrap, pre-press the garment, position the transfer, press for the set time, peel cold, and do a quick quality check. Keep a log of settings for different fabrics so you can repeat success. And don't forget maintenance: clean your press platens regularly to avoid residue transfer, and calibrate your heat press periodically. A well-maintained press with a solid routine will eliminate most pressing issues before they start.
Frequently Asked Questions
Why does my DTF transfer peel off after the first wash?
Peeling after washing usually means the adhesive powder didn't fully melt during pressing. Check that your press reaches the correct temperature (320°F to 340°F), apply medium to heavy pressure, and extend press time to at least 15 seconds. Also, ensure you're peeling the film cold and not stretching the print.
Can I use a home iron for DTF transfers?
While possible, a home iron doesn't provide consistent heat and pressure, so results are unreliable. For professional-quality and durable prints, a heat press is strongly recommended.
How do I prevent my DTF prints from looking dull on dark shirts?
Dull prints on dark garments often result from insufficient white ink opacity or moisture during pressing. Pre-press the garment to remove moisture, use a fresh film with a dense white layer, and avoid over-pressing, which can thin the white ink.
What's the best way to store DTF transfers before pressing?
Store them in a cool, dry place away from direct sunlight. Keep them flat or rolled loosely to avoid creases. Humidity can affect the powder, so use a sealed container with silica gel packs if you're in a humid climate.
Why do my DTF prints feel stiff after pressing?
Stiffness usually comes from too much powder or excessive heat and pressure. Use a light, even coat of powder, press at the recommended temperature, and avoid over-pressing. Softer fabrics like tri-blends will yield a softer hand than tightly woven cotton.