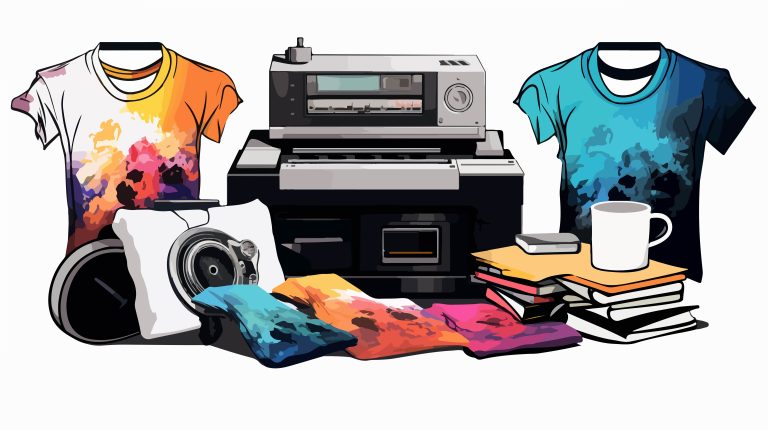
DTF transfers: essential prep and heat-press settings
DTF transfers have transformed custom apparel by delivering vibrant color fidelity across a wide range of fabrics. A solid starting point is a professional prep routine, which streamlines design files, film handling, and substrate preparation for reliable adhesion. Balancing heat, dwell time, and pressure helps preserve image detail on cotton, blends, and synthetics. Because every fabric behaves differently, it’s essential to test on similar materials and record the outcomes. With a structured prep and pressing routine, you can achieve durable, vibrant prints that withstand washing.
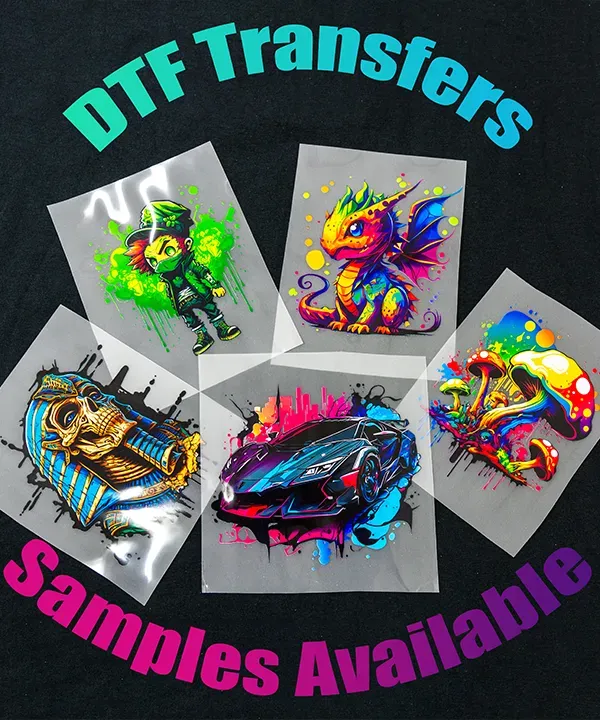
Direct-to-film printing, also called a film-based transfer, prints designs onto a PET film and uses adhesive powder to bind the image to fabric. Getting reliable results hinges on precise DTF transfer temperature and DTF curing time to ensure strong adhesion and color stability across a range of substrates. To optimize outcomes, rely on tested steps such as ink compatibility, film choices, consistent heat, and careful post-press handling to preserve print quality.
DTF transfers: essential prep and heat-press guidelines
DTF transfers begin with thorough prep that aligns design intent with fabric behavior. Focus on DTF transfer prep by starting with a high-resolution file and a color-managed workflow. Calibrate your monitor to a standard color profile, print test swatches on the same media, and create separate color layers if you plan edits for different garment colors or fabrics. Clean edges, strong contrast, and precise color management set the foundation for vibrant, durable results.
Substrate selection and prepress are the next pillars of success. Different fabrics respond differently to heat, so choose light-colored cotton blends for consistency, while dark fabrics may require an underbase or white ink layer. Prepress the garment to remove moisture and wrinkles, then prepare a smooth surface for transfer. Film handling and powder adherence matter too—coat printed images evenly with adhesive powder and cure the film as directed by your supplier to ensure strong adhesion and reduce misprints. Finally, maintain a clean, dust-free workspace to prevent micro-tears and ensure repeatable results, underscoring the importance of prep in achieving consistent DTF transfers.
DTF transfer temperature and pressing: optimizing heat-press settings
Heat-press settings are where many results are determined. Start with a practical mid-range target such as 300–325°F (150–165°C) and adapt based on fabric type and film recommendations. For thicker fabrics, you may move toward 325–330°F (165–168°C). Time is typically 10–20 seconds; lighter fabrics may require the lower end, while heavier textures may benefit from the higher end. Use a test swatch on a similar fabric to evaluate how heat, pressure, and dwell time affect adhesion and color fidelity, and document the DTF transfer temperature and time for future runs.
Pressure should be medium to firm, ensuring the adhesive layer bonds evenly without air gaps. After pressing, a brief cooling period helps set the bond. Some operators cover with parchment or a silicone sheet to minimize direct contact with the heat plate and reduce scorching risk. Post-press handling matters too: allow cooling before handling and consider a light touch-up press for edge integrity if needed. By tuning DTF transfer temperature, time, and pressure, you build a reliable process that minimizes ghosting, edge lifting, and color shifts over repeated washes.
Frequently Asked Questions
How can I optimize DTF transfers with proper DTF transfer prep and heat press settings for durable, vibrant results?
To achieve durable, vibrant DTF transfers, start with solid DTF transfer prep: clean and prepress the garment to remove moisture and wrinkles, select a compatible substrate, and ensure proper film handling. Then dial in heat press settings for DTF: begin at around 315°F (157°C) for about 15 seconds with medium-to-firm pressure, using a test swatch to fine-tune for fabric weight. Monitor the DTF transfer temperature and time based on your printer/film and perform a proper DTF curing time for the adhesive to set. Finish with solid DTF printing tips, such as color management, using compatible inks and films, and verifying edge detail before production.
What are common mistakes in DTF transfers and how can adjusting DTF transfer temperature and DTF curing time help?
Common mistakes include improper DTF transfer prep (dust, moisture, misaligned design), under- or over-pressing due to incorrect DTF transfer temperature or dwell time, and insufficient curing time for the adhesive powder. To fix, start with an appropriate DTF transfer temperature (e.g., 315°F) and dwell time (15 seconds) for typical cotton; adjust pressure to achieve complete contact; ensure proper cooling and allow adequate DTF curing time per the powder/ink guidelines to secure adhesion. Also apply DTF printing tips such as calibrating color management and testing on similar fabrics to avoid ghosting or color bleed.
| Aspect | Key Point | Notes |
|---|---|---|
| What are DTF transfers? | Direct-to-Film: print on PET film with water-based inks, apply adhesive powder, cure, then transfer to fabric; enables detailed color work and smooth gradients across many fabrics. | Versatile transfer method with broad fabric compatibility. |
| Essential prep for DTF transfers | Prep routine reduces misprints: design/color management, substrate selection, prepress, film handling, hygiene. | Set up systematic workflows and calibrations before production. |
| Substrate selection | Fabric behavior varies under heat; choose fabrics accordingly (light cotton blends often best; dark fabrics may need underbase). | Consider weight, stretch, weave for pressing parameters. |
| Prepress & fabric prep | Clean, dry surface; prepress to remove moisture and wrinkles; nap-flat if needed. | Reduce color shift and improve adhesion. |
| Film handling & powder adherence | Coat adhesive powder evenly; cure film per guidelines; ensure uniform coating. | Use a tumbler/shaker to avoid clumps; inspect for missed spots. |
| Heat-press core settings | Start with 300–325°F (150–165°C); 10–20 seconds; medium to firm pressure; account for fabric type. | Test swatches and adjust time/temperature as needed. |
| Practical workflow | Printing, powdering, curing; prepress/alignment; pressing; finishing; follow film’s hot/cold peel guidance. | Aim for precise placement and consistent adhesion. |
| DTF printing tips | Ink/film compatibility; color management; balance resolution with ink usage. | Calibrate color profiles and test on the same fabric type. |
| Troubleshooting | Ghosting/white offsets, cracking, color bleed; identify root causes. | Adjust curing, temperature, time, and pressure; ensure proper base layers for dark fabrics. |
| Temperature/time tuning | Treat as tuning parameters; create a small matrix of test runs. | Document results to optimize future batches. |
Summary
DTF transfers empower apparel creators with a versatile transfer method where thoughtful DTF transfer prep, precise heat-press settings for DTF, and careful film handling yield vibrant, durable prints across a wide range of fabrics. This approach hinges on solid design preparation, substrate selection, film handling, curing, and pressing parameters. The guide above outlines practical prep steps, pressing temperatures and times, and common troubleshooting tips, emphasizing how to optimize DTF transfer prep and heat-press settings to minimize errors and waste. By adopting consistent workflows, test prints, and documented settings for different fabrics and film brands, you can consistently achieve professional results in DTF transfers. For best results, always start with manufacturer guidelines, run controlled tests, and adapt your DTF transfer prep, heat-press settings for DTF, and DTF curing time to your printer, film, and garment mix for consistently excellent results.