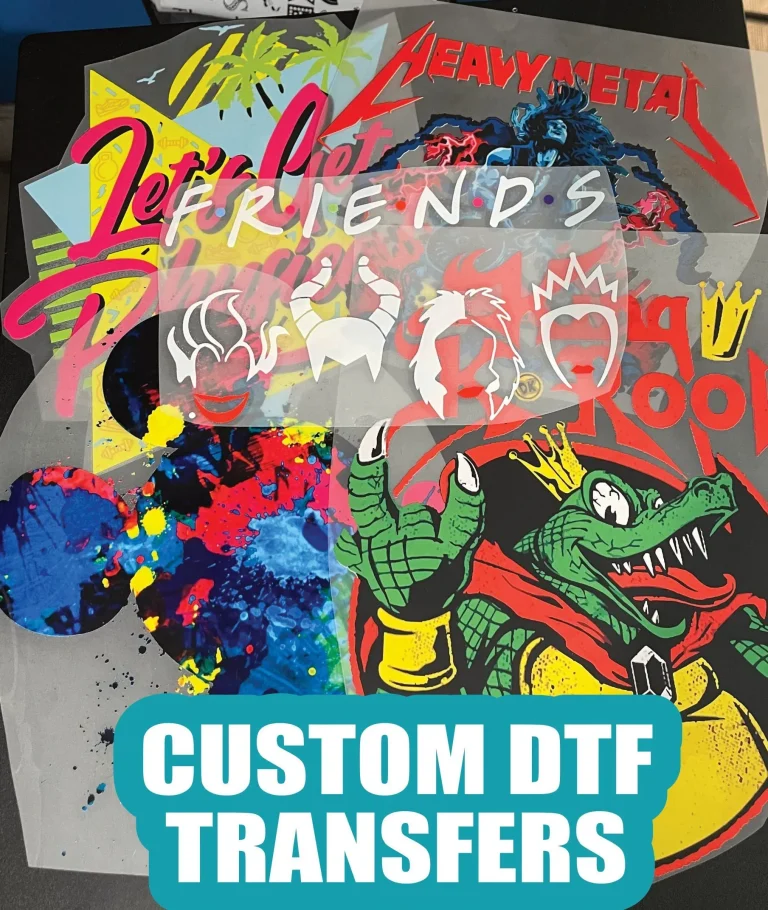
DTF transfers: A Step-by-Step Guide to Flawless Designs
DTF transfers have rapidly become a preferred method for decorating fabrics due to their vibrant color range, durability, and compatibility with a wide variety of textiles. If you’re aiming for flawless designs, mastering how to apply DTF transfers is essential, and this guide provides practical steps for prep and application. Explore topics like DTF printing, heat pressing DTF, and DTF film application on fabrics to ensure color fidelity and a soft hand. From choosing the adhesive powder to proper curing and post-press care, the process is designed to minimize misalignment and improve longevity. If issues arise, you’ll find troubleshooting tips and best practices to keep designs vibrant on cotton, blends, and dark fabrics.
Direct-to-film printing is a common alternative term for this approach, describing a process where the design is printed onto a carrier film and bonded to fabric with heat. This film-based transfer technique is compatible with a wide range of fabrics and is valued for bold color reproduction and a soft finish. In practical terms, you’ll hear terms like film-to-fabric transfer, color-rich garment decoration on dark or light textiles, and adhesive powder bonding used alongside the direct-to-film method. Using Latent Semantic Indexing (LSI) language helps connect related topics such as DTF printing workflows, heat pressing, and troubleshooting common issues.
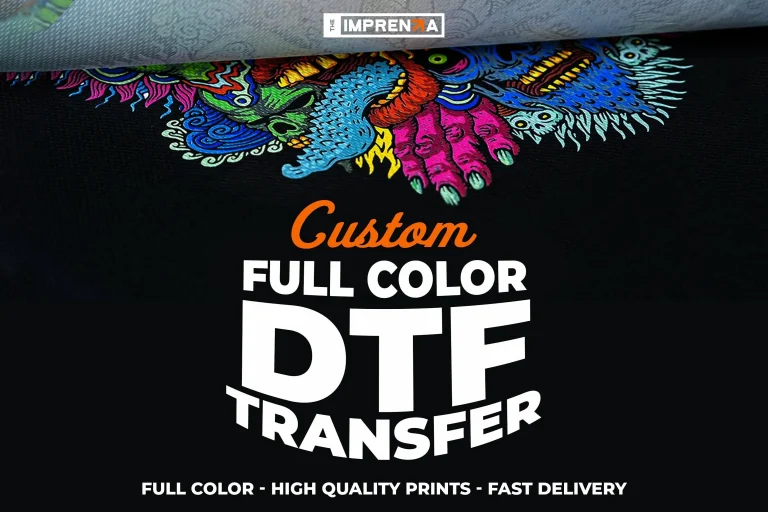
DTF Transfers Mastery: From Preparation to Precise Application
DTF transfers have rapidly become a preferred method for decorating fabrics due to their vibrant color range, durability, and compatibility with a wide variety of textiles. Mastering preparation, design considerations, and the basics of how to apply DTF transfers ensures consistent results across cotton tees, blends, athletic wear, and even dark fabrics. This involves understanding DTF printing on film, choosing the right DTF film and adhesive powder, and planning a reliable heat press workflow so the design bonds cleanly to the fabric.
How to apply DTF transfers: a practical framework. Start with clean, dry garments and a well-lit workspace, then align the design using grid marks or a ruler. Place the garment on the press, secure with heat-resistant tape if needed, and cover with a silicone sheet. Typical settings involve around 300–320°F (150–160°C) for 10–15 seconds with even pressure, followed by a hot-peel or cold-peel per vendor guidelines and a post-press to seal the bond. This is where you optimize the DTF film application on fabrics and ensure a reliable bond through proper curing.
Troubleshooting and Longevity: Keeping DTF-Printed Garments Crisp
DTF transfers can produce spectacular results, but issues like ghosting, misalignment, or peeling can still occur. Troubleshooting DTF transfers begins with verifying pre-press moisture removal, accurate alignment, and the correct combination of print base and adhesive powder. If misalignment or faint outlines appear, re-check the cooling time and peel method, and consider using a stabilizing frame or tape to lock the transfer in place during pressing.
Care and longevity of DTF-transferred garments focus on preserving the bond and color. Turn garments inside out before washing, use cold or warm water with a mild detergent, and avoid harsh solvents and chlorine bleach. Air-drying is best, with low-heat tumble drying if needed, and always avoid ironing directly on the print. Proper curing and post-press handling—along with mindful storage away from direct sunlight—help maintain color fidelity and structural integrity for long-lasting DTF prints, including scenarios involving DTF film application on fabrics.
Frequently Asked Questions
How to apply DTF transfers on fabrics: what are the essential steps for reliable results?
To apply DTF transfers on fabrics, start with clean, dry garments and a brief pre-press (5–8 seconds). Align the design on the fabric and secure with heat-safe tape if needed. Preheat the heat press to about 300–320°F (150–160°C) and use medium to firm pressure. Place a silicone sheet over the DTF film to protect the design and press for roughly 10–15 seconds. Use the vendor’s recommended peel method (hot-peel or cold-peel) and perform a brief post-press to set the bond. Allow the garment to cool and cure before washing. For dark fabrics, ensure you’re using the correct base and consider a white under-base if required. Always test on a fabric swatch first to dial in temperature, time, and pressure.
What are common troubleshooting tips for DTF transfers to prevent misalignment and adhesion issues?
Troubleshooting DTF transfers starts with proper prep and alignment. If you see ghosting or faint outlines, verify thorough pre-press, correct adhesive powder application, and follow the recommended peel method. For misalignment, use garment grid marks or a stabilizing frame and secure the transfer with heat tape. If peeling or cracking occurs, adjust heat and pressure and ensure the transfer is not handled prematurely. For uneven adhesion on sleeves or curved areas, press in smaller zones or use curved-press techniques. White under-base or color bleed on dark fabrics often means the base color or print settings need adjusting. Always allow the bond to cure fully, test on swatches, and keep your heat press calibrated for consistent results.
| Aspect | Key Points |
|---|---|
| What are DTF transfers | Direct-to-film transfers involve printing the design on a special film, applying adhesive powder, curing, then transferring to fabric with a heat press. They offer flexibility across fabrics, strong color reproduction, and a soft hand after bonding; ideal for small runs and custom orders. |
| Why they matter | DTF provides broad fabric compatibility, vibrant color reproduction, durability, and reliable color matching, making it suitable for small-batch production and projects requiring precise results. |
| What you need before you start | Printer or vendor prints on DTF film; DTF transfer films with compatible adhesive powder and curing; a heat press with temperature control and adjustable pressure; silicone sheet or parchment; pre-press board or press pad; clean workspace with measuring tool. |
| Preparing your garment and design | Start with clean, dry fabric. Pre-press 5–8 seconds at a low temperature to remove moisture. Design considerations: 300 dpi or higher; convert text to outlines or use crisp system fonts; avoid overly small details on very stretchy fabrics; consider garment color and whether a white under-base is needed for dark fabrics. |
| Setting Up for the Transfer | 1) Position the garment on the heat press with the neck and seams aligned. 2) Place the design on the fabric and secure with heat-resistant tape if needed. 3) Cover with a silicone sheet or parchment. 4) Pre-press briefly to remove moisture and flatten the fabric. |
| Step-by-Step Application Process | Follow the transfer vendor’s guidelines. General framework: temp ~300–320°F (150–160°C) for 10–15 seconds with medium to firm pressure; ensure even pressure; peel method may be hot or cold depending on system; post-press briefly to seal the bond; allow cooling and curing time before washing. |
| Tips for Consistency | Test on a fabric swatch matching the final garment; align precisely using grid marks or a ruler; use a high-quality silicone sheet; keep the press platen clean; store printed films with proper cooling and curing times to minimize warping. |
| Troubleshooting Common Issues | Ghosting: ensure thorough pre-press and correct adhesive and peel method. Misalignment: re-check alignment; Peeling or cracking: insufficient heat/pressure or early handling—adjust time/temperature. Uneven adhesion on curved areas: use smaller pressure zones or curved pressing. White under-base or color bleed on dark fabrics: use proper under-base and settings. |
| Care and Longevity | Turn garments inside out before washing; use cold or warm water with mild detergent; air-dry or low heat; avoid direct sunlight; don’t iron directly on the transfer; if pressing, place a cloth over the design. |
| Comparing DTF with Other Methods | DTF sits between screen printing, DTG, and sublimation. Usually cost-effective for small runs and offers broad color versatility; typically more reliable on dark fabrics and multi-color designs than some methods; sublimation is polyester-specific and has limitations on cotton. |
| Final Thoughts | Mastering DTF transfers enables consistent, professional results for custom apparel, merchandise, or DIY projects by focusing on prep, alignment, proper temperature and timing, and mindful care. |
Summary
DTF transfers are a robust, versatile method for decorating fabrics, delivering vibrant colors and durable adhesion across a wide range of textiles. With careful prep, precise application, and mindful care, you can achieve flawless results consistently. Practice with sample fabrics, follow manufacturer guidelines for your transfer film, and dial in your press settings to elevate your finished products. Whether you’re producing a small batch of custom tees or offering personalized apparel, mastering DTF transfers will elevate your finished products and keep customers coming back for more.