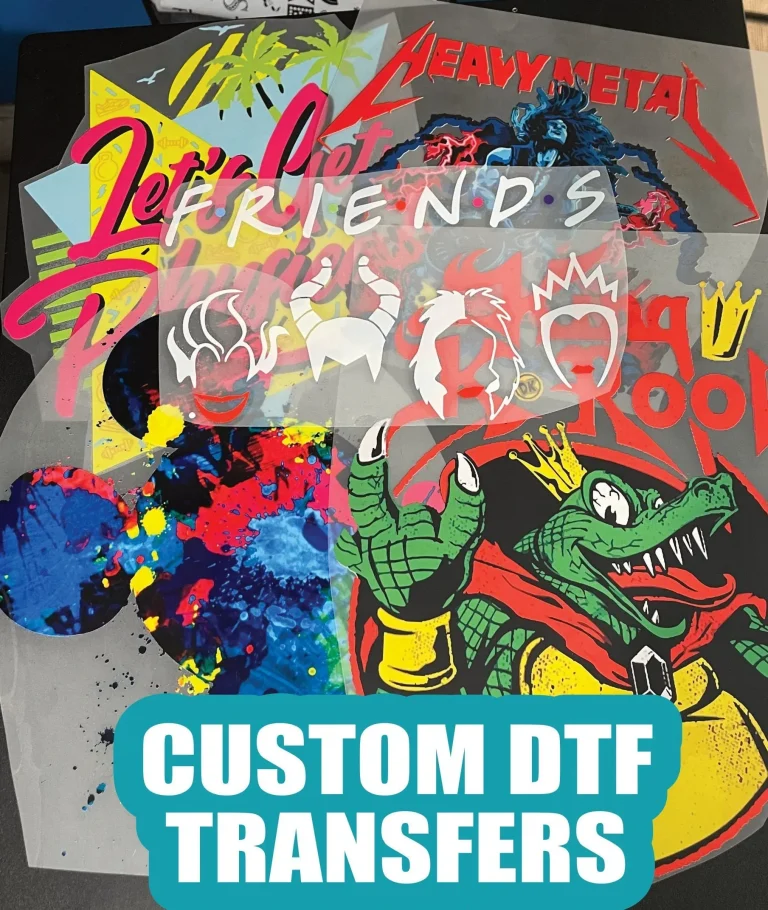
DTF transfer materials: Inks, papers, and curing guide
DTF transfer materials form the backbone of modern garment customization, delivering vibrant color, sharp detail, and durable wear. Mastering DTF inks, DTF papers, and the DTF curing process helps ensure reliable transfers across fabrics. From selecting the right direct-to-film materials to understanding the DTF transfer guide principles, you’ll optimize color fidelity and wash-fastness. This SEO-friendly guide explains how the interplay between inks, papers, and curing steps influences edge clarity and durability. Whether you’re new to DTF or refining a workflow, these materials empower consistent, professional results with every project.
Beyond the familiar names, the film-to-fabric workflow hinges on a family of substrates and coatings that work together. Inks designed for pigment longevity, coated papers, and the heat activation steps all contribute to color density and durability across garments. Think of this ecosystem as a complete workflow—film, ink, and curing settings—that must harmonize for crisp edges and a soft hand feel. Maintaining consistent results requires testing different combinations and tracking outcomes across fabrics, printers, and presses.
DTF Inks: Color, Durability, and Print Quality
DTF inks are typically pigment-based to maximize color longevity and wash resistance, forming the foundation for vibrant, durable transfers. When evaluating inks, key factors include color gamut, opacity—especially for white underbase on light fabrics—and drying behavior so that inks don’t smudge before curing. A well-chosen DTF ink set also supports sharp details and stable white opacity, which helps maintain print integrity across varieties of fabrics and garment colors.
The chemistry of DTF inks directly influences color accuracy, adhesion, and the hand feel after curing. Matching ink formulation to your chosen DTF papers and curing protocol minimizes color shifts between proofing and final prints. For guidance, consult resources like a DTF transfer guide to optimize pigment concentration, drying times, and printhead maintenance so you achieve consistent, professional results with every run.
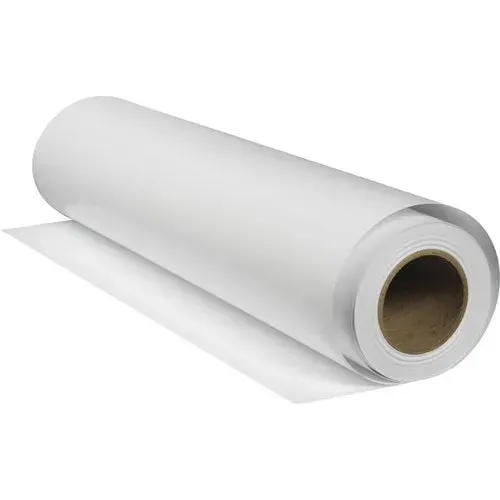
DTF Papers and Films: Substrates for Sharpness and Color
DTF papers are engineered to absorb ink efficiently while providing a reliable release during the transfer, with the PET film layer aiding handling and transfer accuracy. A uniform surface texture and a stable release layer help maintain edge definition and smooth color transitions, which translates into crisper images on the garment after curing. The paper’s coating also influences ink density and whiteness, contributing to better overall print quality.
Beyond the paper, the direct-to-film materials concept often includes a PET or similar film layer that works in concert with the ink to prevent smudging during handling and curing. When evaluating DTF papers, it’s important to test the combination with your printer, ink set, and typical fabrics to prevent bleeding, misregistration, or surface texture issues that can degrade gradients and fine details.
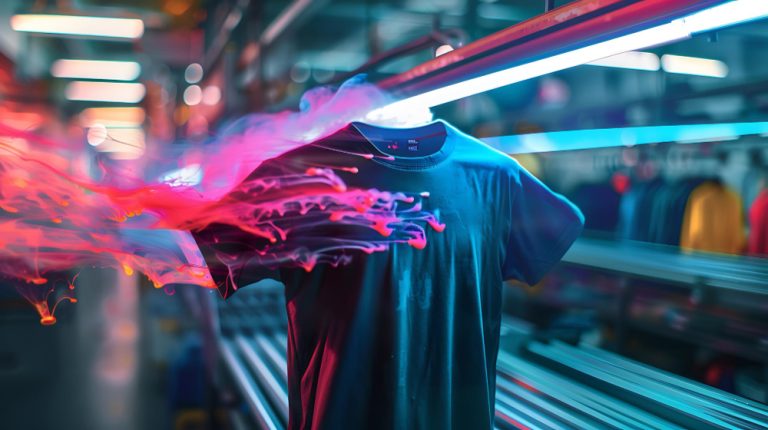
The DTF Curing Process: Heat, Time, and Bonding to Fabric
The DTF curing process activates the bond between ink and fabric, and it is influenced by temperature, dwell time, and pressure. Too much heat can scorch fabrics or degrade colors, while too little heat may leave inks poorly bonded and prone to cracking or peeling. Understanding the right balance for your fabric types—cotton, blends, and synthetics—helps ensure durable adhesion without compromising hand feel or image clarity.
A practical approach is to start with manufacturer-recommended settings and then refine them through test sheets on your most common fabrics. Track temperature, time, and pressure, along with observations on vibrancy, edge sharpness, and wash performance. Over repeated iterations, you’ll converge on a reliable DTF curing protocol that consistently delivers durable, vibrant transfers.
DTF Transfer Materials: Choosing Direct-to-Film Materials for Consistency
Selecting the right combination of inks, papers, and films is essential for consistent, repeatable results. Direct-to-film materials must work harmoniously—DTF inks must bond properly to the paper and transfer film, and the release properties must align with your curing protocol. This holistic view helps minimize surprises during production and supports uniform color density, edge definition, and durability across batches.
A practical supplier strategy involves requesting samples and running small-scale tests on your typical fabrics and color profiles. Maintain a log of tested ink-paper-film combinations, document the curing settings used, and compare wash-fastness and color retention. By building a library of validated DTF transfer materials, you’ll reduce variability and scale production with confidence.
DTF Transfer Guide: From File Prep to Finished Transfers
Effective file preparation and color management are foundational to successful DTF transfers. Use a color-managed workflow to preserve tonal values and ensure that the final print on DTF papers mirrors the on-screen design. The DTF transfer guide often recommends calibrating your monitor, printing a controlled color test, and maintaining consistent substrate handling to minimize deviations between proofs and completed garments.
From pre-press to post-press handling, the transfer process benefits from a structured approach: align the transfer, apply even heat and pressure, and monitor the curing window to avoid edge halos or hotspots. Following a detailed DTF transfer guide can help standardize steps, reduce waste, and improve reproducibility across operators and production lines.
Troubleshooting and Quality Control in DTF Printing
Even with carefully selected materials, issues can occur. Common problems include faded whites, color bleed, cracking, or pealing, often tied to improper curing, misalignment, or incompatible fabrics. Addressing these requires verifying that you’re using the correct white ink under-base where needed, confirming the curing temperature and dwell time, and ensuring even pressure during transfer.
Quality control routines are essential for consistency. Implement standard test prints and wash tests for every new ink/paper batch, and keep a log of settings and outcomes. Regular maintenance—cleaning printheads, platen surfaces, and transfer devices—helps maintain print quality, while periodic audits of color accuracy and adhesion ensure that your DTF transfers stay vibrant and durable over time.
Frequently Asked Questions
What are the core DTF transfer materials and how do DTF inks, DTF papers, and direct-to-film materials work together?
DTF transfer materials consist of DTF inks, DTF papers, and the direct-to-film material stack. DTF inks are pigment-based to maximize color longevity and adhesion to the film, while DTF papers are designed to absorb ink, control bleed, and release cleanly during transfer. The film layer (direct-to-film materials) supports handling and helps prevent smudging until curing. A compatible combination yields crisp detail, solid color density, and durable wash-fastness; consult a DTF transfer guide for workflow specifics.
How do I choose DTF inks to optimize color, opacity, and wash-fastness?
DTF inks determine color gamut, opacity, and wash-fastness. When selecting DTF inks, evaluate color strength and white opacity for your fabrics, drying behavior on your chosen DTF paper, and curing compatibility with your heat-press. Also ensure printer compatibility so the ink performs consistently across jobs.
What should I look for in DTF papers to ensure sharp edges and clean release during curing?
DTF papers influence ink absorption, edge sharpness, and release during curing. Look for a uniform surface texture, a reliable release layer, and good thermal stability to prevent warping. Test the paper with your ink set on representative fabrics to verify color density, minimal bleed, and clean outlines.
What are typical curing settings in the DTF curing process for different fabrics?
DTF curing process settings vary by fabric, ink chemistry, and paper. Start with manufacturer recommendations, then run test sheets to dial in temperature, dwell time, and pressure for your common fabrics. Monitor adhesion, color vibrancy, hand feel, and edge definition, and adjust to avoid scorching or under-curing.
Can you provide a practical DTF transfer guide for a reliable workflow from file prep to curing?
Practical guidance from a DTF transfer guide: pre-press the fabric, prepare your artwork in a color-managed workflow, print on DTF papers with your ink system, and allow a short rest if needed. Align the transfer on the garment, apply even heat and moderate pressure, cure at the recommended temperature and time for your fabric and ink/paper combo, then remove the carrier while warm and let it cool gradually.
What are common issues with DTF transfer materials and how can I troubleshoot during curing and transfer?
Common issues include faded whites or color bleed, cracking or peeling, sticky surfaces, misalignment, or weak wash-fastness. Troubleshooting steps: verify curing temperature and dwell time, check fabric compatibility with the ink and paper, adjust pressure, test with small samples, and ensure complete cooling after curing. Maintain equipment and use standardized test prints to isolate variables.
| Aspect | Key Points |
|---|---|
| DTF inks | – Color gamut & opacity: strong white opacity for lighter fabrics. – Drying behavior: inks must dry properly on DTF paper without smudging before transfer. – Ink-curing compatibility: some inks cure well at standard heat-press temps; others require adjusted dwell times. – Printer compatibility: formulated for your printhead type and maintenance routine. – Outcomes: consistent color reproduction, legible fine details, minimal graininess in gradients; resist cracking and fading after proper curing. |
| DTF papers | – Release behavior: clean release from paper during heat press. – Surface texture: uniform, smooth surface supports sharp edges and smooth color transitions. – Print compatibility: works with your printer’s ink set and feed system. – Thermal stability: withstands curing heat without warping or sticking to platen. – Substrate: PET film layer aids ink transfer and prevents smudging; samples recommended to test on fabrics. – Outcomes: consistent prints with solid color density and clean outlines. |
| DTF curing process | – Temperature: too high scorches; too low reduces adhesion. – Time: dwell long enough for bonding but not over-curing. – Pressure: even pressure prevents hotspots and smudging. – Fabric type: cotton, blends, synthetics respond differently. – Chemistry compatibility: ink/paper compatibility dictates optimal settings. – Practical approach: start with manufacturer recommendations; run test sheets; record temperature, time, pressure and results (color vibrancy, edge sharpness, wash durability). – Outcome: reliable curing protocol delivering durable, vibrant transfers. |
| Practical workflow | – Pre-press & fabric prep: clean, pre-dried fabrics; brief pre-press to remove moisture. – File preparation & printing: color-managed workflow; ensure ink sits evenly on paper. – Curing prep: allow printed transfer to rest briefly if needed. – Transfer setup: align transfer; apply even, moderate pressure. – Curing/heat pressing: follow recommended temp/time/pressure; avoid sudden temperature changes. – Post-press handling: remove support layer while warm; cool gradually. – Inspection & testing: check color accuracy, edge definition; wash test garments. |
| Common challenges & troubleshooting | – Faded whites or color bleed: use proper white ink/under-base; verify curing temp & dwell time. – Cracking or pealing: check curing pressure; adjust time/temperature; ensure ink fully cured. – Sticky/tacky surfaces: ensure complete cooling; humidity issues may contribute. – Off-grain or misalignment: verify film tension and tray alignment. – Wash-fastness concerns: confirm curing protocol and fabrics within recommended fiber content. |
| Safety, maintenance & best practices | – Storage: cool, dry place; seal containers to prevent moisture. – Ventilation: proper ventilation during printing and curing. – Equipment maintenance: clean printheads, platen surfaces, and transfer devices regularly. – Testing: standard test print and wash test for every new ink/paper batch. |
| Choosing suppliers & testing strategies | – Request samples and perform small-scale test runs with typical fabrics and color profiles. – Evaluate color accuracy, vibrancy, white opacity, and durability after curing and washing. – Maintain a log of settings and outcomes to reproduce success across batches. – Build a library of tested ink/paper combinations for future reference. |
Summary
DTF transfer materials underpin reliable direct-to-film printing, guiding color fidelity, durability, and workflow efficiency. By aligning DTF inks, DTF papers, and the curing practices, you can troubleshoot problems faster, optimize your process, and scale production with confidence. Embracing a structured workflow and continuous testing of ink formulations, papers, and cure settings will help you achieve consistent, professional transfers across diverse fabrics and applications.