DTF Gangsheet Builder: Starter Guide for Beginners
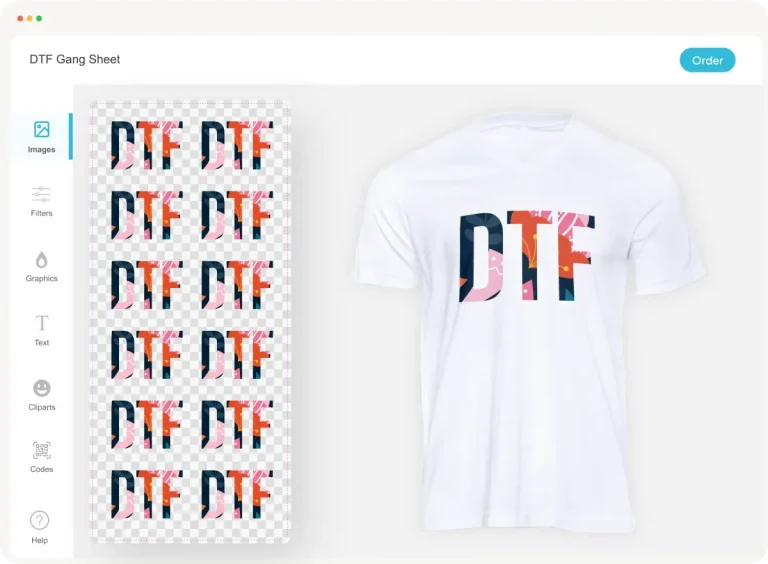
DTF Gangsheet Builder is the essential tool for planning efficient designs, turning scattered art into organized DTF gang sheets for large-format prints, and it is designed to help hobbyists and small studios streamline every step from concept to production. This descriptive platform helps you arrange multiple designs on a single sheet, reducing waste and enabling a smoother beginner-friendly workflow, while also providing clear notes and export-ready templates for faster approvals. As you explore, you’ll learn how to create gang sheets for DTF with clear alignment guides and presets that align with common printing standards, making the process approachable for newcomers. The tool supports essential concepts from a practical DTF printing guide, including color management, export readiness, and white underlays to ensure vibrant results on every garment. By mastering these steps and leveraging built-in tips within the builder’s workflow, you’ll move from concept to production with confidence and deliver consistent results across orders.
DTF Gang Sheets: How to Create Gang Sheets for DTF (DTF Printing Guide)
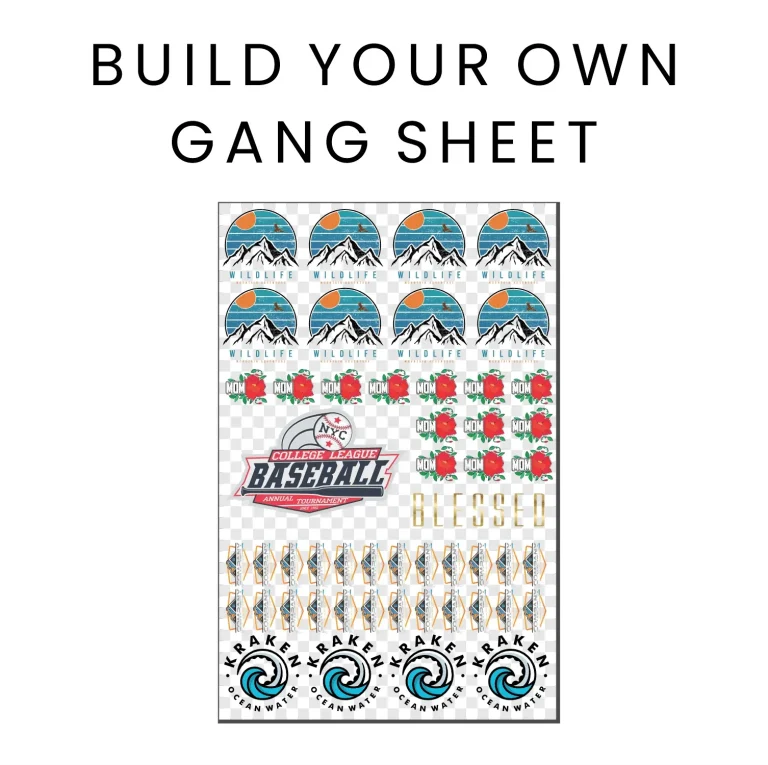
Printing multiple designs on a single sheet can dramatically reduce material waste and production time, especially in DTF printing. A well-planned DTF gang sheet lets you maximize color runs and streamline prepress by packing designs on one sheet. This approach aligns with a practical DTF printing guide and helps beginners learn how to create gang sheets for DTF with confidence, turning complex layouts into a repeatable process.
To start, design in a grid—select a sheet size, set margins, and reserve bleed where needed. This helps you optimize how to create gang sheets for DTF by guiding design placement, even spacing, and predictable cutting. Ensure each design is 300 DPI or higher and manage white underlays and color layers so colors stay vibrant after the heat press. Export only print-ready files that match your printer’s profiles, which keeps the process aligned with the DTF printing guide.
DTF Gangsheet Builder for Beginners: The Beginner DTF Workflow and DTF Heat Press Tips
DTF Gangsheet Builder for Beginners is a practical tool that fits directly into the beginner DTF workflow. By turning separate artwork into a single printable sheet, it reduces setup time and improves consistency. The builder’s grid, snapping, and template presets are designed to help newcomers learn the core steps of the DTF process, including gang sheet assembly, color layering, and export readiness, all in line with a typical DTF printing guide.
As you move from layout to production, follow DTF heat press tips such as controlling temperature, dwell time, pressure, and even loading for each design. The DTF Gangsheet Builder helps you plan powdering and curing steps on the same sheet, preview margins at press time, and export files per layer or as a combined file. This approach keeps design integrity intact and speeds up batches of multiple designs on one sheet.
Frequently Asked Questions
What is a DTF gang sheet and how does the DTF Gangsheet Builder help beginners?
DTF gang sheets are a single large print that places multiple designs on one sheet, maximizing color runs while reducing waste and setup time in direct-to-film (DTF) printing. The DTF Gangsheet Builder helps beginners by snapping designs to a grid, offering sheet-size presets (such as 12×16 inches or A3), and generating print-ready export files. It flags overlaps and margin issues to prevent misprints, supporting a smooth beginner DTF workflow. For post-print steps, you’ll also find practical DTF heat press tips integrated into the workflow to guide transfers.
How do you create efficient gang sheets for DTF with the DTF Gangsheet Builder?
To create efficient gang sheets, start a new project and select a sheet size (common beginner options include 12×16 inches or 13×19 inches). Import your designs, then arrange them with a grid and snapping to maintain even gaps and alignment. Manage color layers (white underlays and color layers) and confirm each design is around 300 DPI. Preview, then export print-ready files tailored to your DTF printer. Save templates for repeat jobs. This approach follows a straightforward beginner DTF workflow and aligns with a DTF printing guide, while keeping DTF heat press tips (temperature, time, and pressure) in mind for the final transfer.
| Key Point | Summary |
|---|---|
| What is a DTF gang sheet and why it matters | A single large print that holds multiple designs on one sheet. Benefits include maximizing color runs, reducing setup times, and lowering costs, which is especially valuable for small businesses, custom shops, and hobbyists. |
| DTF Gangsheet Builder: purpose and core features | A tool that combines layout tools, alignment guides, and export options to place designs, manage margins, and generate print-ready files. It snaps designs to a grid, provides sheet-size presets, and offers warnings for conflicts. |
| Getting acquainted for beginners | The builder helps arrange separate artwork on one sheet while respecting printer limits and post-processing. Key factors include print area and sheet size, design placement, resolution and color, and export readiness. |
| Step 1: Start a new project and set up your sheet | Create a new project, pick a sheet size (e.g., 12×16 in or 13×19 in), set margins, and define bleed if needed. |
| Step 2: Import your designs | Import designs in formats like PNG, TIFF, SVG, or PDF. Ensure each design is around 300 DPI and appropriately sized for the sheet. |
| Step 3: Arrange designs with precision | Use a grid, alignment guides, and snapping to place designs evenly. Maintain consistent gaps and consider orientation relative to the substrate. |
| Step 4: Manage color and layers | If supported, use layers for white underlays and color layers. Check color profiles (e.g., sRGB) for consistency across devices and plan for any powder or post-processing steps. |
| Step 5: Preview and export | Preview placements and margins, export print-ready files (often with combined color and white layers or per-layer files), and save templates for repeat jobs. |
| Design prep and file export best practices | Design at 300 DPI or higher, manage color consistently, use white underbase where needed, export in lossless formats, convert text to outlines or embed fonts, and proof with a small test print. |
| DTF printing and heat press workflow | After printing, powder and cure as required, then transfer with press settings per your machine. Plan for order batching, consistent heat/pressure, and handling multiple designs on one sheet. |
| Common beginner pitfalls | Misalignment, overcrowding, color mismatch, inadequate margins, and file compatibility issues. The builder’s guides help mitigate these risks. |
| Maximizing efficiency for beginners | Create reusable templates, batch designs, standardize grid/margins/export settings, document color/workflow steps, and ensure device compatibility across printer, powder shaker, and press. |
Summary
HTML table with key points about the DTF Gangsheet Builder is provided above. Now, a descriptive, SEO-friendly conclusion follows.